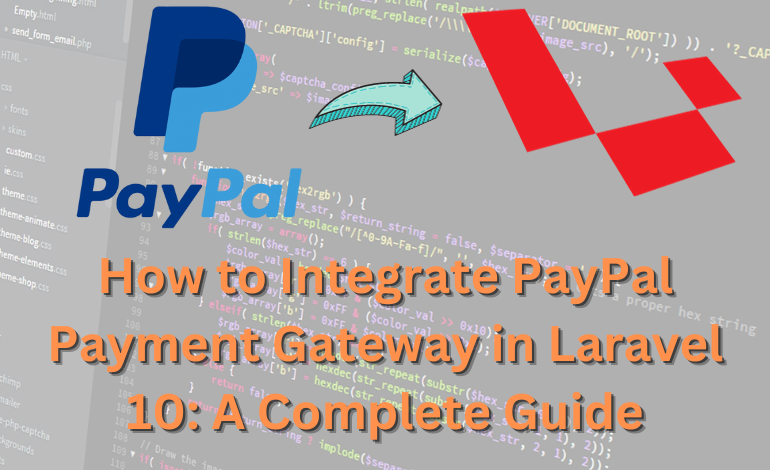
Laravel, with its elegant and expressive syntax, offers a robust platform for web application development. When it comes to online payment integration, PayPal stands out as a trusted and secure option. In this guide, we will delve into the process of integrating the PayPal payment gateway into a Laravel 10 application, step by step.
Table of Contents
- Prerequisites
- Setting up Laravel 10
- Creating a PayPal Developer Account
- Integration Steps
- Testing the Integration
- Conclusion
1. Prerequisites:
- A fresh Laravel 10 application.
- Composer installed on your machine.
- A PayPal Developer account.
2. Setting up Laravel 10:
If you haven’t set up Laravel 10, you can do so with the following command:
composer create-project --prefer-dist laravel/laravel laravel-paypal3. Creating a PayPal Developer Account:
Before integrating, ensure you have a developer account on PayPal. This will allow you to access the sandbox environment for testing.
- Visit the PayPal Developer Site
- Sign up or log in to your account.
- Navigate to the ‘My Apps & Credentials’ section and create a new app to get your
CLIENT_IDandSECRET.
4. Integration Steps:
4.1 Install the PayPal SDK:
Use composer to pull in the PayPal SDK.
composer require paypal/rest-api-sdk-php4.2 Configuration:
In your .env file, add the following:
PAYPAL_CLIENT_ID=YOUR_CLIENT_ID

PAYPAL_SECRET=YOUR_SECRET

PAYPAL_MODE=sandbox # Use 'live' for production
4.3 Create the PayPal Controller:
Generate a controller to handle PayPal payments.
php artisan make:controller PayPalControllerIn PayPalController.php:
namespace App\Http\Controllers;


use Illuminate\Http\Request;

use PayPal\Auth\OAuthTokenCredential;

use PayPal\Rest\ApiContext;

use PayPal\Api\Amount;

use PayPal\Api\Payer;

use PayPal\Api\Payment;

use PayPal\Api\RedirectUrls;

use PayPal\Api\Transaction;


class PayPalController extends Controller

{

    private $_api_context;


    public function __construct() {

        // Configuration setup as previously shown

        $paypal_conf = config('paypal');

        $this->_api_context = new ApiContext(new OAuthTokenCredential(

            $paypal_conf['client_id'],

            $paypal_conf['secret']

        ));

        $this->_api_context->setConfig($paypal_conf['settings']);

    }


    public function viewItem() {

        return view('paypal');

    }


    public function makePayment() {

        $payer = new Payer();

        $payer->setPaymentMethod('paypal');


        $amount = new Amount();

        $amount->setTotal('10.00')  // You can change this value for the item price

              ->setCurrency('USD');


        $transaction = new Transaction();

        $transaction->setAmount($amount)

            ->setDescription('Your Item Description');


        $redirect_urls = new RedirectUrls();

        $redirect_urls->setReturnUrl(route('status'))

            ->setCancelUrl(route('view.item'));


        $payment = new Payment();

        $payment->setIntent('sale')

            ->setPayer($payer)

            ->setRedirectUrls($redirect_urls)

            ->setTransactions([$transaction]);


        try {

            $payment->create($this->_api_context);

        } catch (\Exception $ex) {

            return redirect()->route('view.item')->with('error', 'There was an error processing your payment with PayPal.');

        }


        foreach($payment->getLinks() as $link) {

            if($link->getRel() == 'approval_url') {

                return redirect($link->getHref());

            }

        }

    }


    public function getPaymentStatus(Request $request) {

        // Payment ID validation and retrieval code should go here


        return view('payment-status', ['status' => 'Payment was successful!']);  // Simplified for demonstration

    }

}
4.4 Implementing Payment Methods:
Inside the same controller, implement methods like getPaymentStatus, makePayment, etc., to handle various stages of the payment process.
4.5 Setting Routes:
In web.php:
Route::get('view-item', 'PayPalController@viewItem')->name('view.item');

Route::get('paypal', 'PayPalController@makePayment')->name('paypal');

Route::get('payment-status', 'PayPalController@getPaymentStatus')->name('status');
4.6 Views:
Create a view named paypal.blade.php within the resources/views directory. This view will contain a button to initiate the payment:
<!-- resources/views/paypal.blade.php -->


<!DOCTYPE html>

<html lang="en">

<head>

<meta charset="UTF-8">

<meta name="viewport" content="width=device-width, initial-scale=1.0">

<title>PayPal Integration with Laravel 10</title>

<link rel="stylesheet" href="{{ asset('css/app.css') }}">

</head>

<body>


<div class="container mt-5">

<h2 class="text-center">PayPal Integration with Laravel 10</h2>

<div class="d-flex justify-content-center mt-4">

<a href="{{ route('paypal') }}" class="btn btn-primary">Pay with PayPal</a>

</div>

</div>


<script src="{{ asset('js/app.js') }}"></script>

</body>

</html>
This view displays a button that, when clicked, initiates the payment process by redirecting the user to the PayPal site. Upon successful payment, they’ll be redirected back to your site where you can display the payment status.
Running the Application:
- Migration and Database Setup:Before running the application, ensure that you’ve set up your database credentials in the
.envfile. Then run the migrations:php artisan migrate - Development Server:Laravel provides a development server out of the box. To start the server:
php artisan serveOnce the server is up and running, you can access the application via
http://127.0.0.1:8000orhttp://localhost:8000. - Viewing the PayPal Page:Navigate to
http://127.0.0.1:8000/paypalto see the PayPal payment button and initiate the payment process.
Remember, this is a basic implementation for demonstration purposes. In a real-world scenario, you’d likely want to expand on this, handling various product or service pricing, integrating a shopping cart, handling various currencies, and enhancing the UI/UX for a smoother user experience. Always ensure to rigorously test the application, especially when dealing with financial transactions.
Conclusion:
Integrating the PayPal payment gateway in Laravel 10 is straightforward with the SDK provided. This integration allows Laravel developers to offer a secure and trusted payment method for their users. Remember to switch to ‘live’ mode in the .env file once you’re ready to move to production and always ensure your application’s security when dealing with financial transactions.

2 Comments
Yasir
December 20, 2023 at 7:04 ampaypalController Error
“Trying to access array offset on value of type null”
please resolve this issue in your code .
Yasir
December 20, 2023 at 7:24 amproblem with paypal Controller
not working fix please